How Long to Cook Chicken Breast in an Air Fryer?
How Long to Cook Chicken Breast in an Air Fryer?
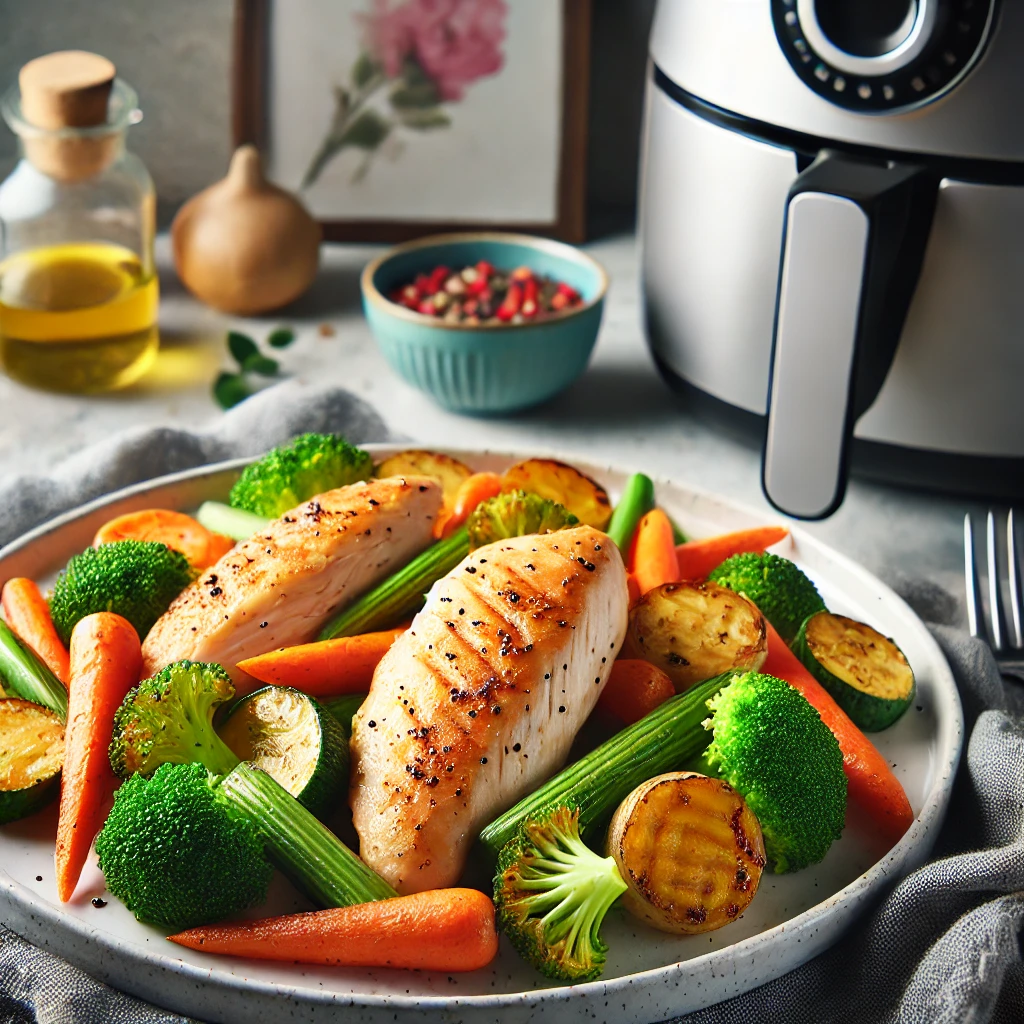
In the world of healthy cooking, the air fryer has emerged as a game-changer, revolutionizing the way we enjoy fried foods without sacrificing taste or nutrition. When it comes to chicken breast, the lean and versatile protein staple, the air fryer offers a hassle-free way to achieve restaurant-quality crispiness without drowning the meat in oil. But the question on everyone's mind is: "How long should I cook chicken breast in an air fryer for optimal results?" This comprehensive guide will walk you through every step, ensuring your chicken breast is always perfectly cooked, juicy on the inside, and golden brown on the outside.
I. Preparation: The Key to Success
Step 1:
Choose Your Chicken Wisely
1. Select Quality Breasts:
Start with fresh or thawed frozen chicken breasts that are uniformly sized. This ensures even cooking.
2. Trim the Fat:
Remove any excess fat or membranes from the chicken breasts to promote better browning and reduce splattering.
Step 2: Season to Perfection
1. Marinate or Season:
For added flavor, marinate your chicken in your favorite sauce for at least 30 minutes to an hour, or simply season with salt, pepper, and your choice of herbs like thyme, rosemary, or garlic powder.
2. Allow to Rest:
After seasoning, let the chicken sit for 10-15 minutes to allow the flavors to penetrate the meat.
Step 3: Preheat Your Air Fryer
1. Set the Temperature:
Preheat your air fryer to 375°F (190°C). This temperature is ideal for cooking chicken breast, balancing crispiness with juiciness.
2. Ready the Basket:
Lightly spray the air fryer basket with cooking oil spray to prevent sticking.
II. Cooking Time: Factors That Influence It
Factor 1: Thickness of the Chicken Breast
1. Thinner Breasts:
If your chicken breasts are on the thinner side (around ½ inch or 1.25 cm), they will cook faster. Aim for 10-12 minutes, flipping halfway through.
2. Thicker Breasts:
Thicker chicken breasts (up to 1 inch or 2.5 cm) may need up to 15-18 minutes, depending on your desired level of doneness.
Factor 2: Desired Doneness
1. Juicy and Tender:
For chicken that's juicy and tender, aim for an internal temperature of 165°F (74°C) measured with a food thermometer.
2. Crispy Skin (If Using Skin-On Breast):
For extra crispiness, especially if using skin-on chicken breasts, you may need to cook for slightly longer, ensuring the skin gets adequately browned.
Factor 3: Air Fryer Model and Power
1. Model Variations:
Keep in mind that different air fryer models and their power settings can affect cooking times. Always refer to your air fryer's manual for specific recommendations.
2. Adjust as Needed:
Start with a recommended time and check on the chicken frequently, adjusting the time as necessary.
III. Cooking Process: Step-by-Step
Step 1: Place the Chicken
Arrange in a Single Layer:
Place the seasoned chicken breasts in the preheated air fryer basket, ensuring they're not overlapping. This allows for even circulation of hot air and uniform cooking.
Step 2: Set the Timer
Initial Timer Setting:
Set your air fryer timer for the initial recommended time based on the thickness of your chicken breasts. For a 1-inch thick breast, start with 15 minutes.
Step 3: Flip and Check
Halfway Check:
At the halfway mark (around 7-8 minutes for a 15-minute cook), flip the chicken breasts over using tongs or a spatula. This promotes even browning on both sides.
Optional Basting:
If desired, you can brush a light layer of oil or marinade on the top side before flipping for extra flavor and crispiness.
Step 4: Final Check and Serve
Check Internal Temperature:
Use a food thermometer to check the internal temperature of the thickest part of the chicken. Once it reaches 165°F (74°C), it's ready to serve.
Let Rest:
Allow the chicken to rest for 5 minutes before slicing or serving. This helps redistribute the juices within the meat, ensuring maximum juiciness.
IV. Tips and Tricks for Perfect Results
1. Don't Overcrowd the Basket:
Overcrowding can prevent even cooking, so cook in batches if necessary.
2. Use a Meat Thermometer:
A food thermometer is the most accurate way to ensure your chicken is cooked to the perfect temperature.
3. Experiment with Seasonings:
Get creative with your seasonings! Mix and match herbs, spices, and marinades to elevate your chicken breast dishes.
4. Storage and Reheating:
Store leftover chicken in an airtight container in the fridge for up to 3-4 days. Reheat in the air fryer at a lower temperature (around 350°F) for a few minutes until heated through.
V. Conclusion
Achieving perfectly cooked chicken breast in an air fryer is a matter of understanding the variables and adjusting accordingly. By selecting high-quality chicken, preheating your air fryer, and paying attention to cooking times based on the thickness of your meat, you'll soon be whipping up juicy, crispy chicken breast dishes that rival any restaurant's. Remember, the beauty of the air fryer lies in its versatility and ability to create healthy, flavorful meals with minimal oil. So, don't be afraid to experiment and find your perfect recipe for air fryer chicken breast success!
 Can You Make Popcorn in an Air
 How to Cook Broccoli in an Air
 How to Make Tortilla Chips in
 Are Air Fryers Healthy?
