How to Clean an Air Fryer?
How to Clean an Air Fryer?
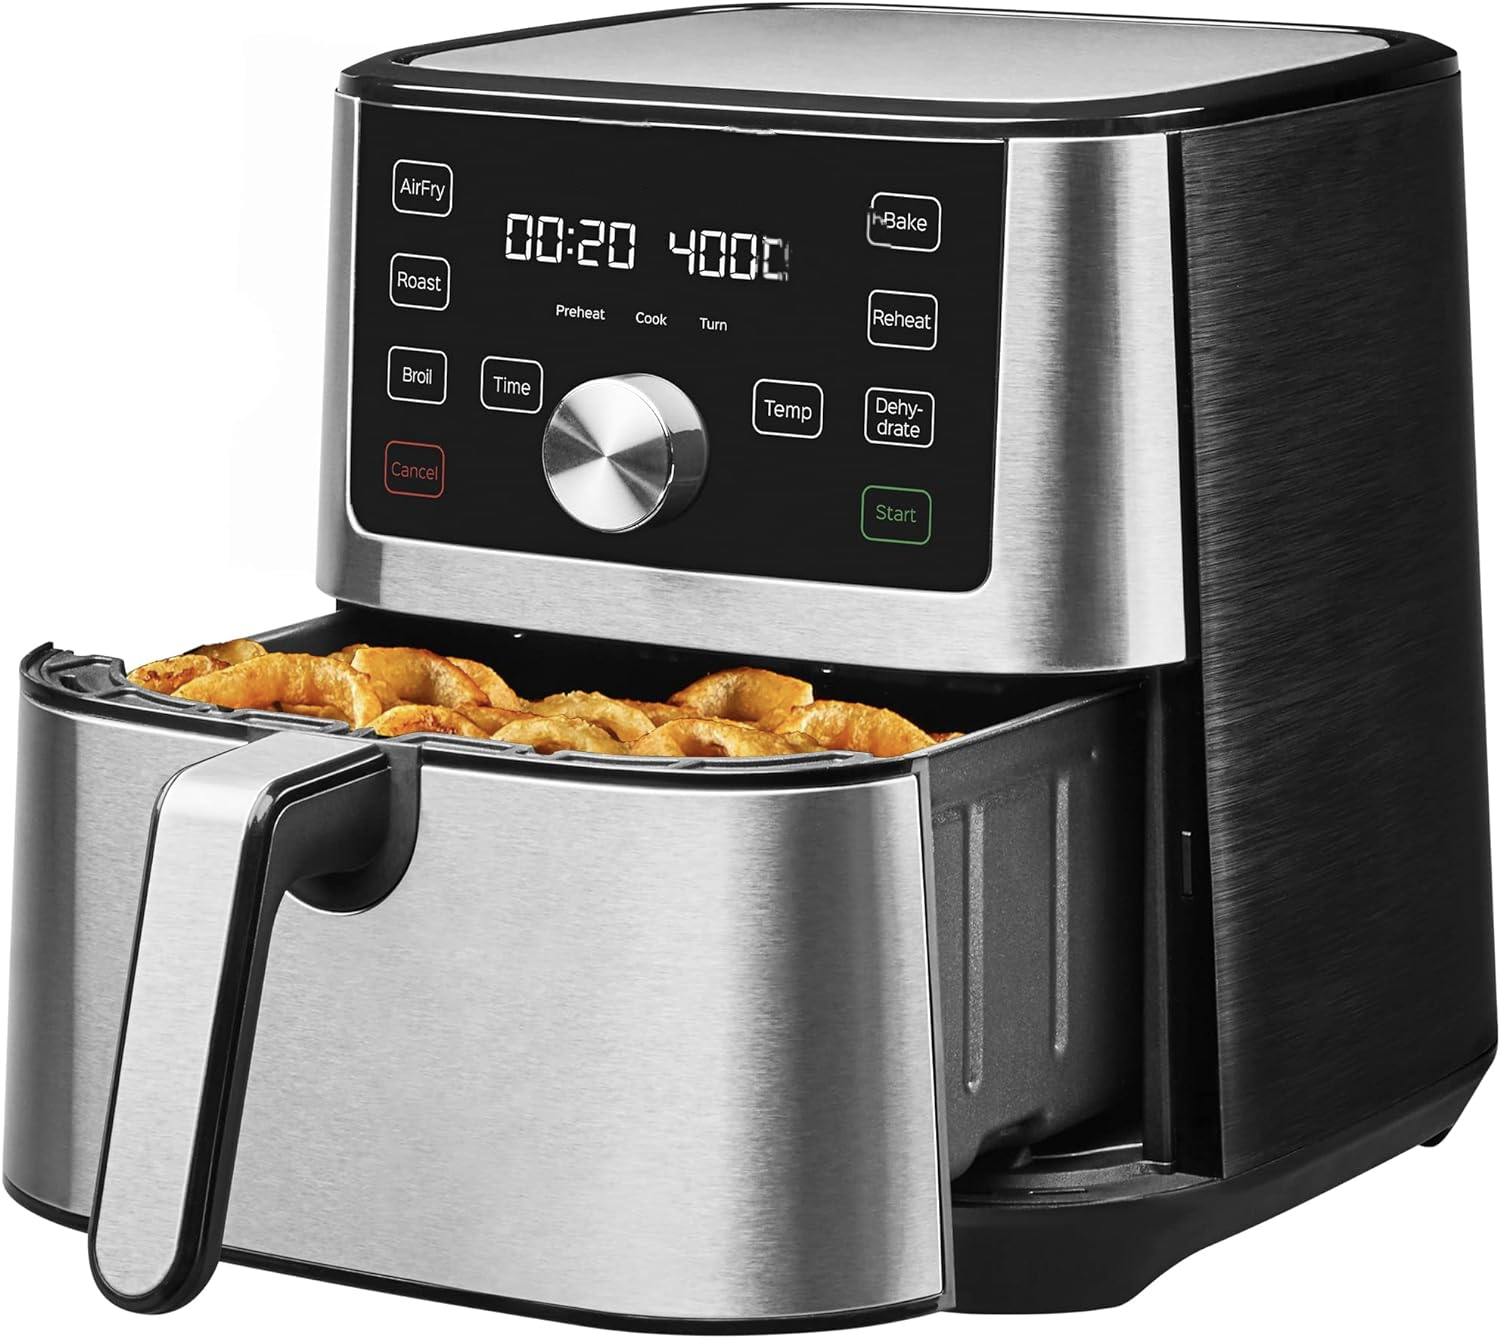
In the realm of modern kitchen appliances, the air fryer has emerged as a game-changer, offering healthier alternatives to deep-frying without compromising on that crave-worthy, crispy texture. However, like any other kitchen gadget, maintaining its peak performance requires regular cleaning. A clean air fryer not only ensures your food tastes its best but also prolongs the life of your appliance. Here's a comprehensive guide on how to clean an air fryer, step by step, ensuring every meal retains its freshness and crispiness.

I. Unplug and Let It Cool Down
1. Safety First:
Before embarking on any cleaning journey, always unplug your air fryer from the power source. Electricity and water don't mix, so safety is paramount.
2. Allow Time to Cool:
Let the air fryer cool down completely. Hot surfaces can cause burns, and sudden temperature changes can damage the appliance's components.
II. Remove Removable Parts
1. Basket and Tray:
Gently lift out the food basket and any trays or pans that are designed to be removed. These are the primary areas where food residue accumulates.
2. Detachable Components:
Check your air fryer's manual for any other detachable parts like filters or racks that might need cleaning.
III. Wash Removable Parts in Soapy Water
1. Warm Water and Dish Soap:
Fill a sink or basin with warm water and add a few drops of mild dish soap. Avoid using harsh chemicals or abrasive sponges as they can scratch the non-stick surface.
2. Soak and Scrub:
Soak the removable parts in the soapy water for a few minutes to loosen stubborn stains. Use a soft sponge or brush to gently scrub away any food residue.
3. Rinse Thoroughly:
Rinse the parts under running water until all soap residue is removed.
IV. Dry Thoroughly
Air Dry or Towel Dry:
Let the removable parts air dry on a clean towel or use a paper towel to pat them dry. Ensure they are completely dry before reassembling to prevent moisture-related issues.
V. Wipe Down the Interior and Exterior
1. Interior Cleaning:
Use a damp cloth (slightly dampened with water, no soap needed) to wipe down the inside of the air fryer, paying close attention to the heating element housing (but never directly touch the heating element when it's hot or plugged in).
2. Exterior Maintenance:
Wipe down the exterior of the air fryer with a dry cloth to remove dust and fingerprints. For stubborn stains, use a damp cloth with a drop of vinegar for a gentle cleaning solution.
VI. Clean the Filter (If Applicable)
1. Locate and Remove:
Refer to your air fryer's manual to locate and remove the filter. It's typically located at the back or bottom of the appliance.
2. Soak and Rinse:
Soak the filter in warm, soapy water or as per the manufacturer's instructions. Rinse thoroughly and allow it to air dry completely before reinstalling.
VII. Reassemble and Check
1. Replace Parts:
Once all components are clean and dry, carefully reassemble them in reverse order.
2. Check for Tightness:
Ensure all parts are securely in place and that there are no loose connections.
VIII. Maintain Regularly
1. Post-Use Cleanup:
After each use, quickly wipe down the interior with a damp cloth to prevent stubborn stains from forming.
2. Deep Clean Schedule:
Plan a deeper clean every few weeks or after cooking particularly greasy or sticky foods.
3. Storage Considerations:
Store your air fryer in a dry, well-ventilated area to prevent dust accumulation and moisture damage.
IX. Follow Manufacturer's Guidelines
1. Refer to Manual:
Always consult your air fryer's user manual for specific cleaning instructions and warnings. Different models may have unique cleaning requirements.
2. Warranty Considerations:
Improper cleaning can void your warranty, so adhering to the manufacturer's guidelines is crucial.
X. Embrace the Benefits of a Clean Air Fryer
1. Improved Taste:
A clean air fryer ensures that your food tastes fresh and uncontaminated by previous meals' flavors or residue.
2. Efficiency Boost:
Regular cleaning keeps the air flow optimal, allowing your air fryer to work more efficiently and saving you time and energy.
3. Longevity:
Proper maintenance extends the lifespan of your air fryer, saving you money in the long run.
Conclusion
By following these simple steps, you can keep your air fryer in pristine condition, ensuring that every meal you prepare is as crispy and delicious as the first. Remember, a little effort goes a long way in maintaining the health and efficiency of your kitchen appliances. Happy air frying!
 Can You Make Popcorn in an Air
 How to Cook Broccoli in an Air
 How to Make Tortilla Chips in
 Are Air Fryers Healthy?
